How to Make Audio-Reactive VJ Loops in 5 Minutes with VJ Loop Studio 3D
The standard VJ workflow looks like this: buy loops, sort loops, play loops, hope the loops match the energy of the room. VJ Loop Studio 3D replaces that with generation - the visuals are computed live from the music, so every track gets loops that actually react. And the first one takes about five minutes.
Before you start
- VJ Loop Studio 3D running (trial works the same way)
- Audio input: the built-in analyzer can take your sound card, a channel in your DJ software, or a dedicated feed - anything that reaches the PC
- A target: your projector, LED processor or stream encoder - via Spout or NDI
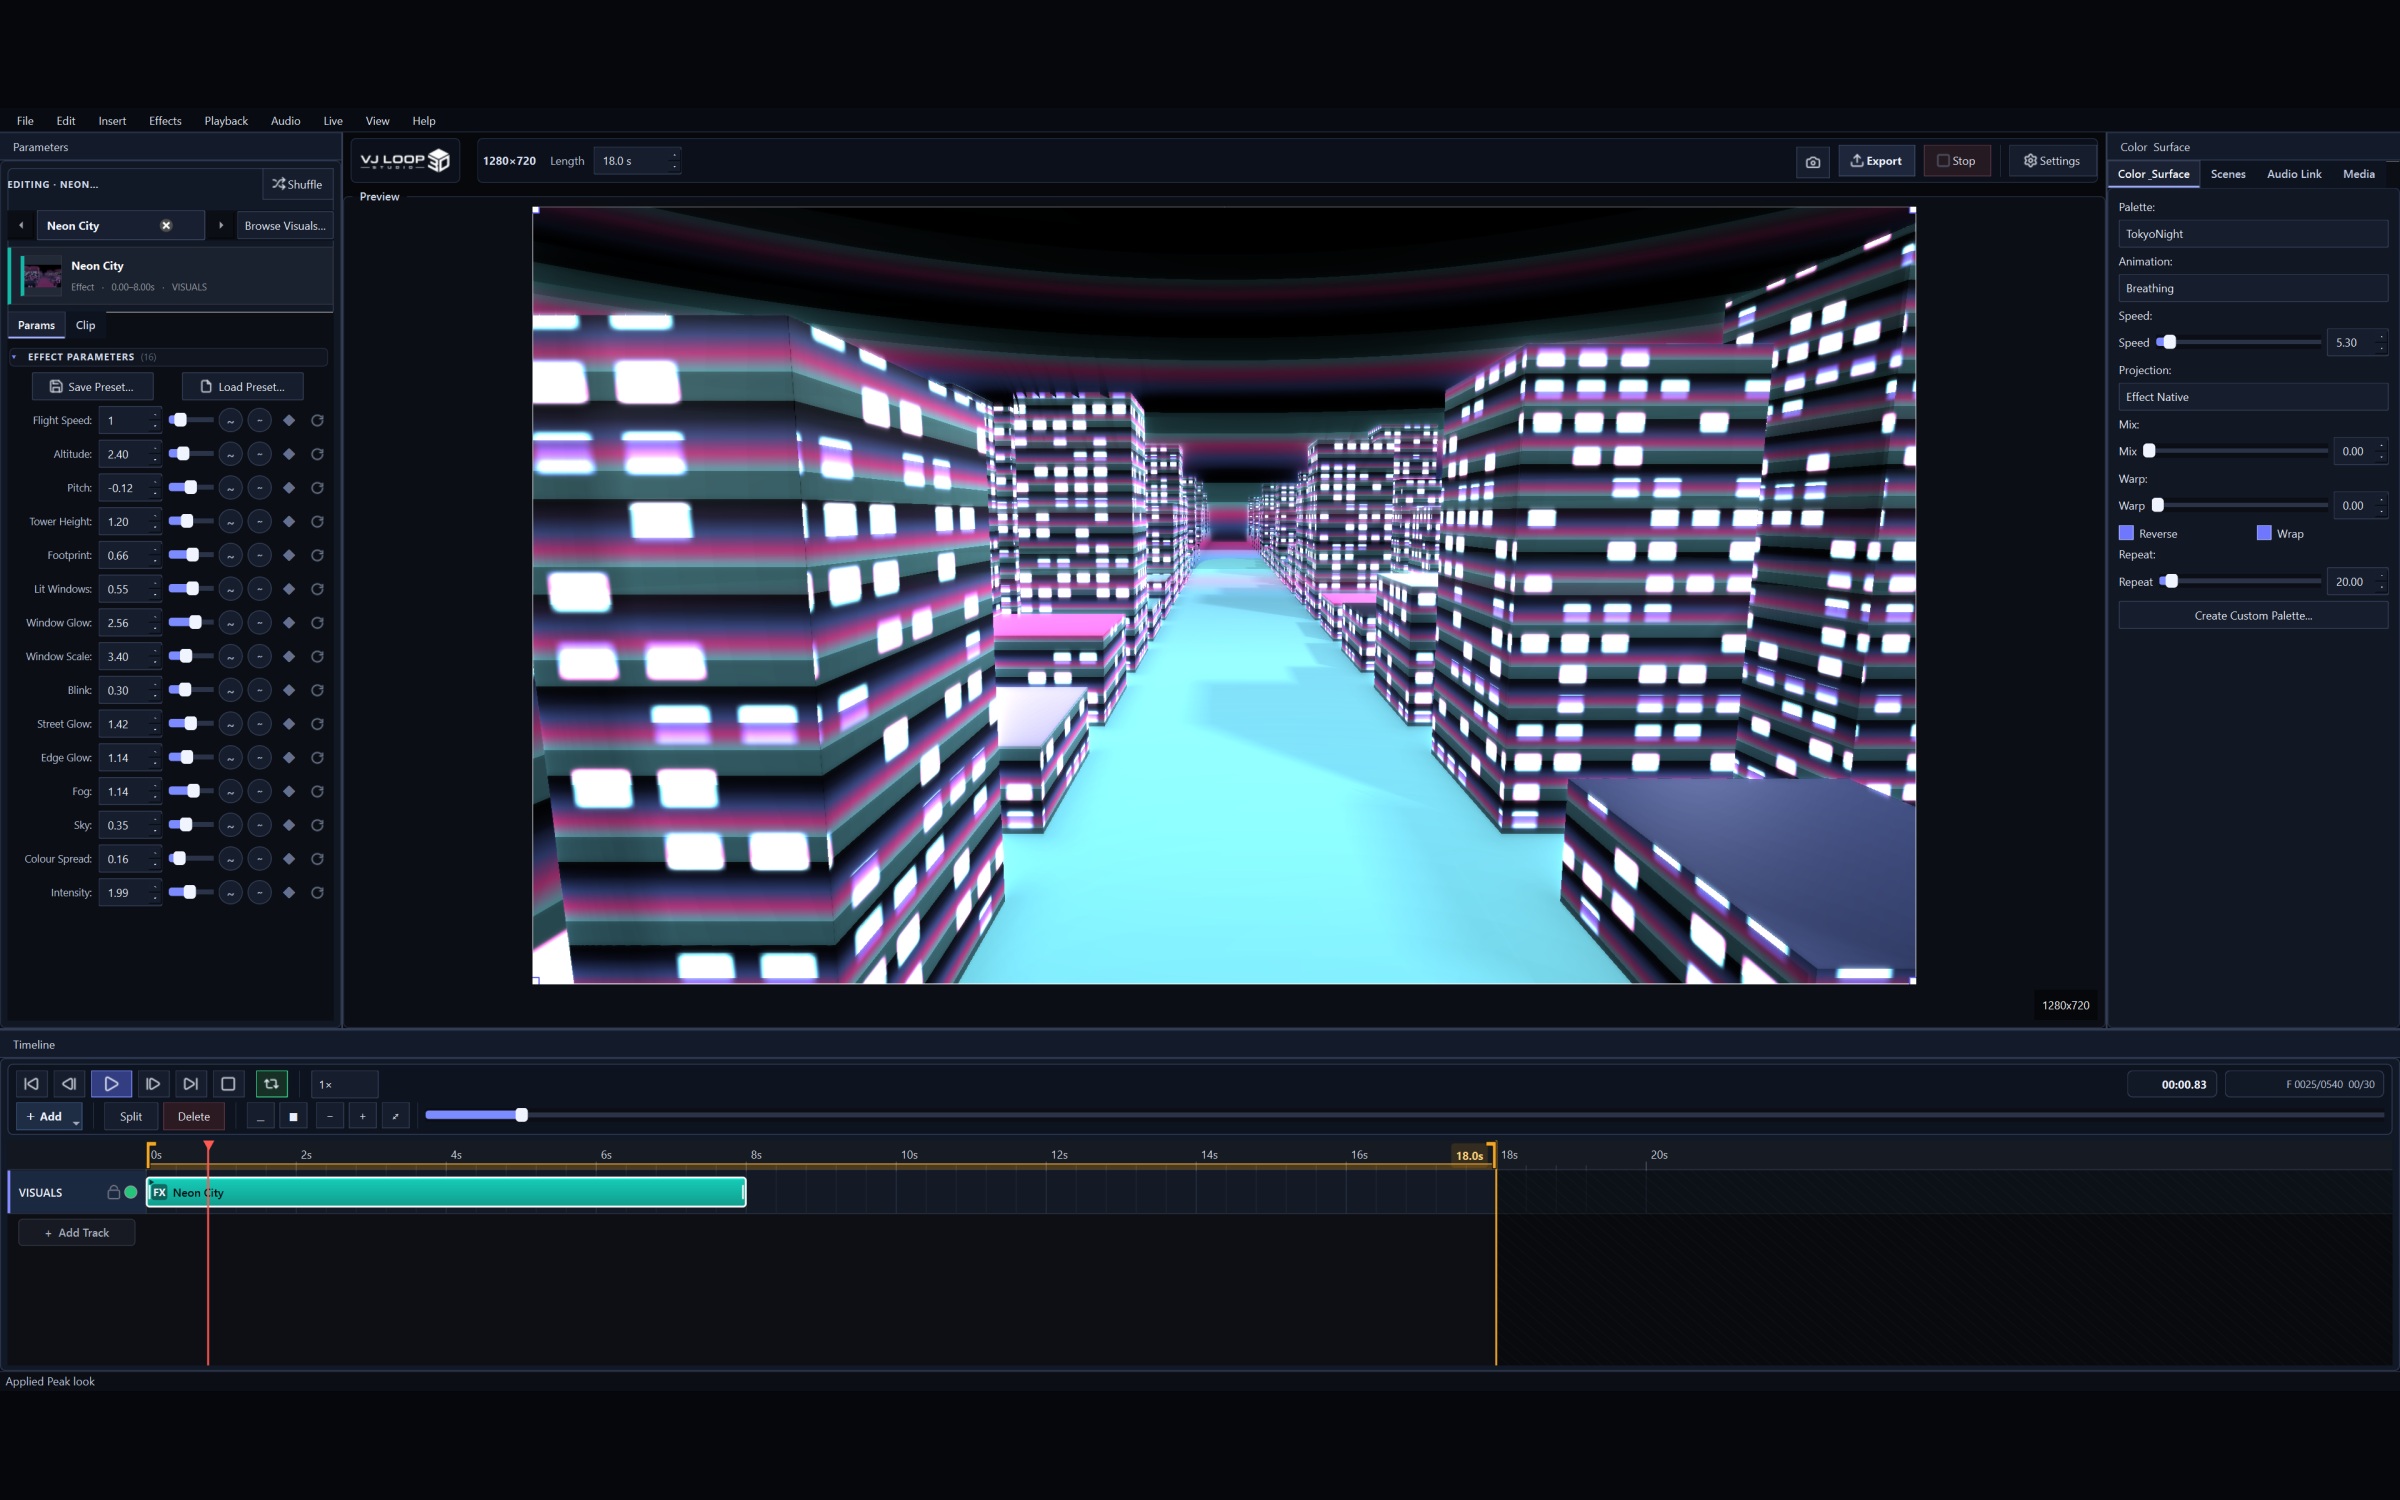
Step 1: Pick a generator in the effect browser
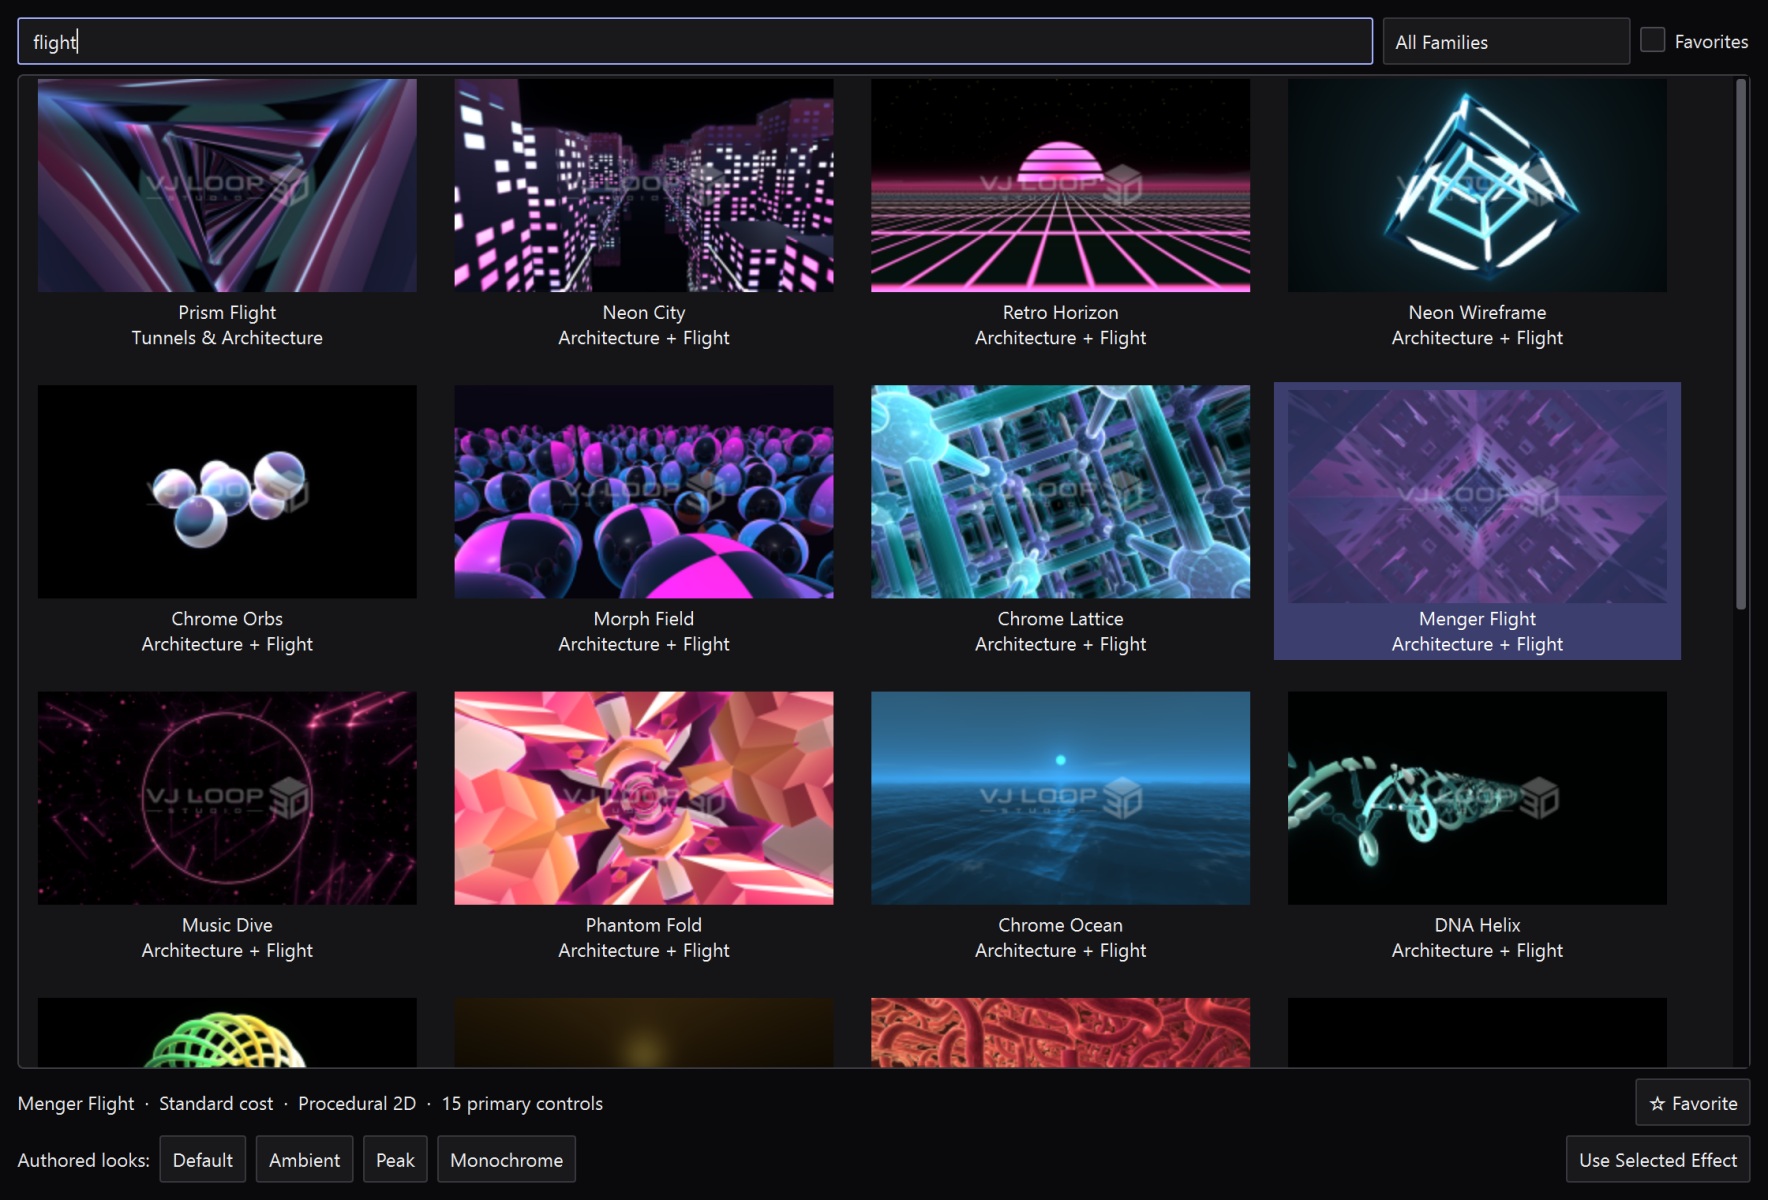
Open the effect browser and pick a starting point - the library has 85 generators, from classic audio-reactive shapes to full 3D scenes. For a first loop, choose something bold like a mandelbulb or a truss tunnel; you can change it later without losing your color work.
Step 2: Let the audio drive it
This is the part that takes zero effort: drop the clip into the timeline and enable audio reactivity. The engine reads the actual audio stream - not a BPM guess:
- Beat detection triggers flashes, strobes and scene changes on the drop
- Spectrum analysis drives frequency-based effects: bass hits pulse the low band, hi-hats sparkle the highs
- Audio particles spawn in rhythm, so the density of motion follows the energy of the track
You can still map OSC/MIDI to any parameter later if you want hands-on control - TouchOSC, MIDI controllers and SycPhon are all supported.
Step 3: Shape the look with color mapping
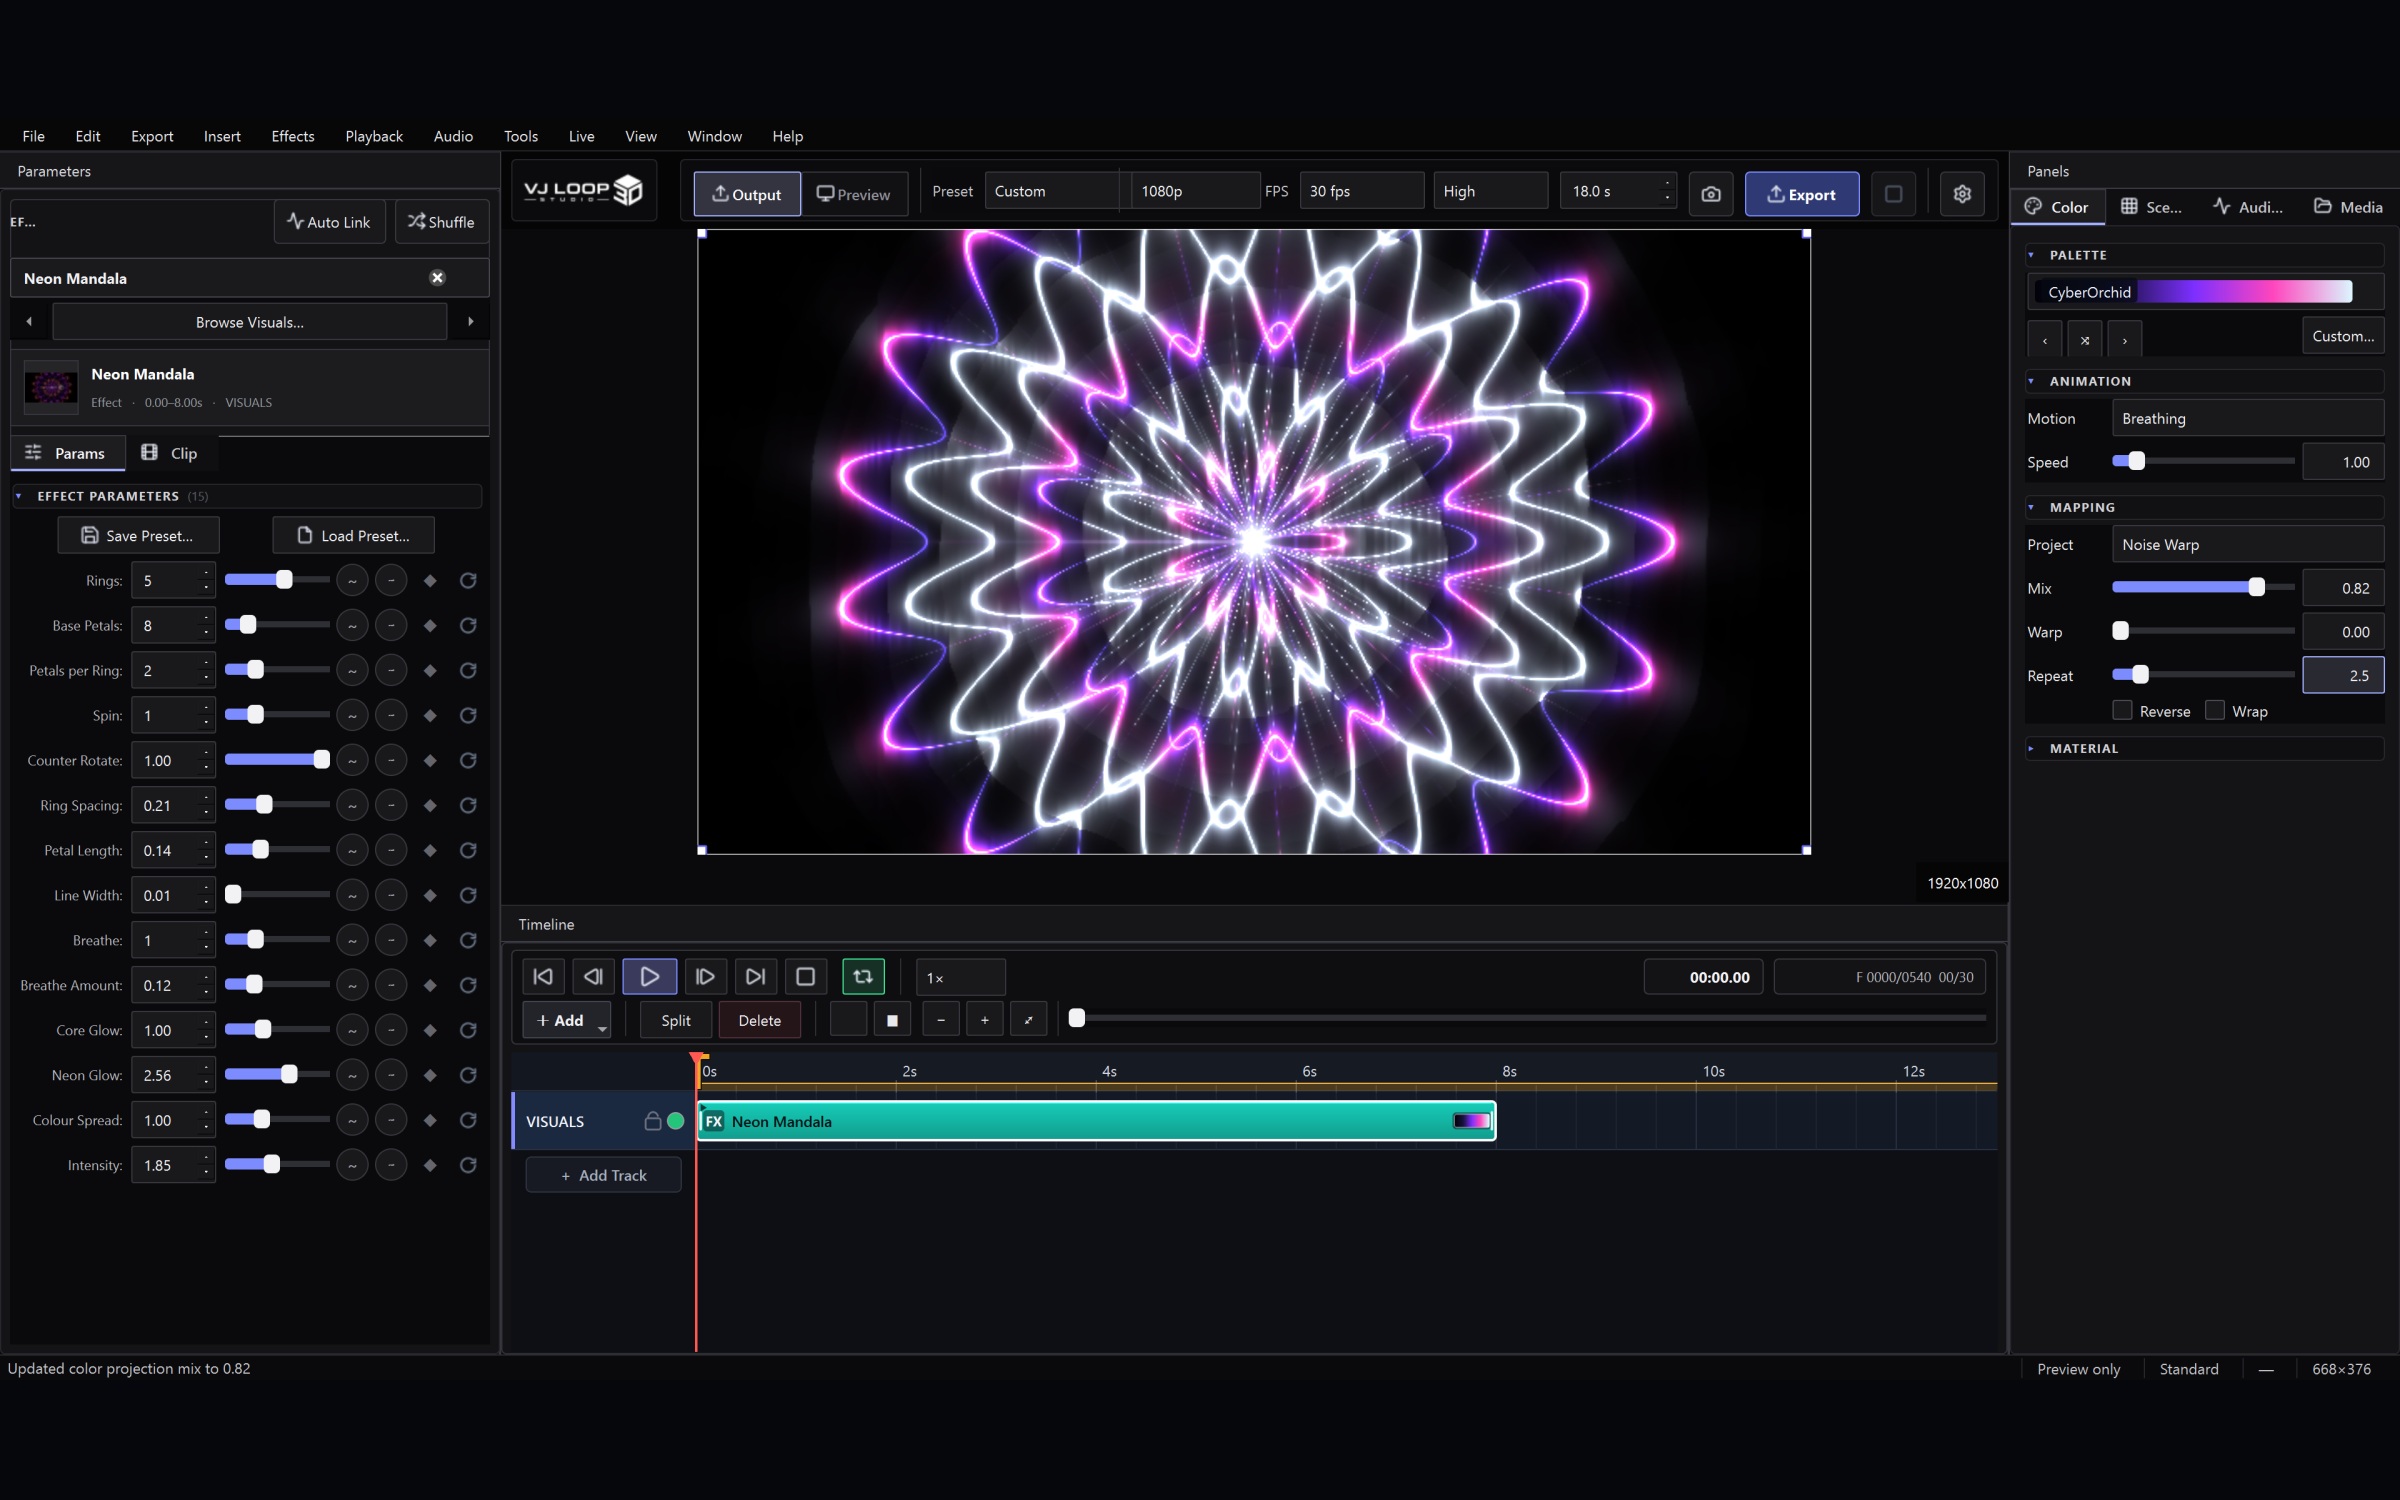
Open the color mapping screen and give the loop a coherent palette. Preset settings, custom gradients and 13 color animation types mean the loop can pull from exactly the colors of your show - gold and amber for a warm set, cold cyan for the after-hours slot. The same generator instantly looks like different content on different palettes.
Step 4: Compose the sequence in the timeline
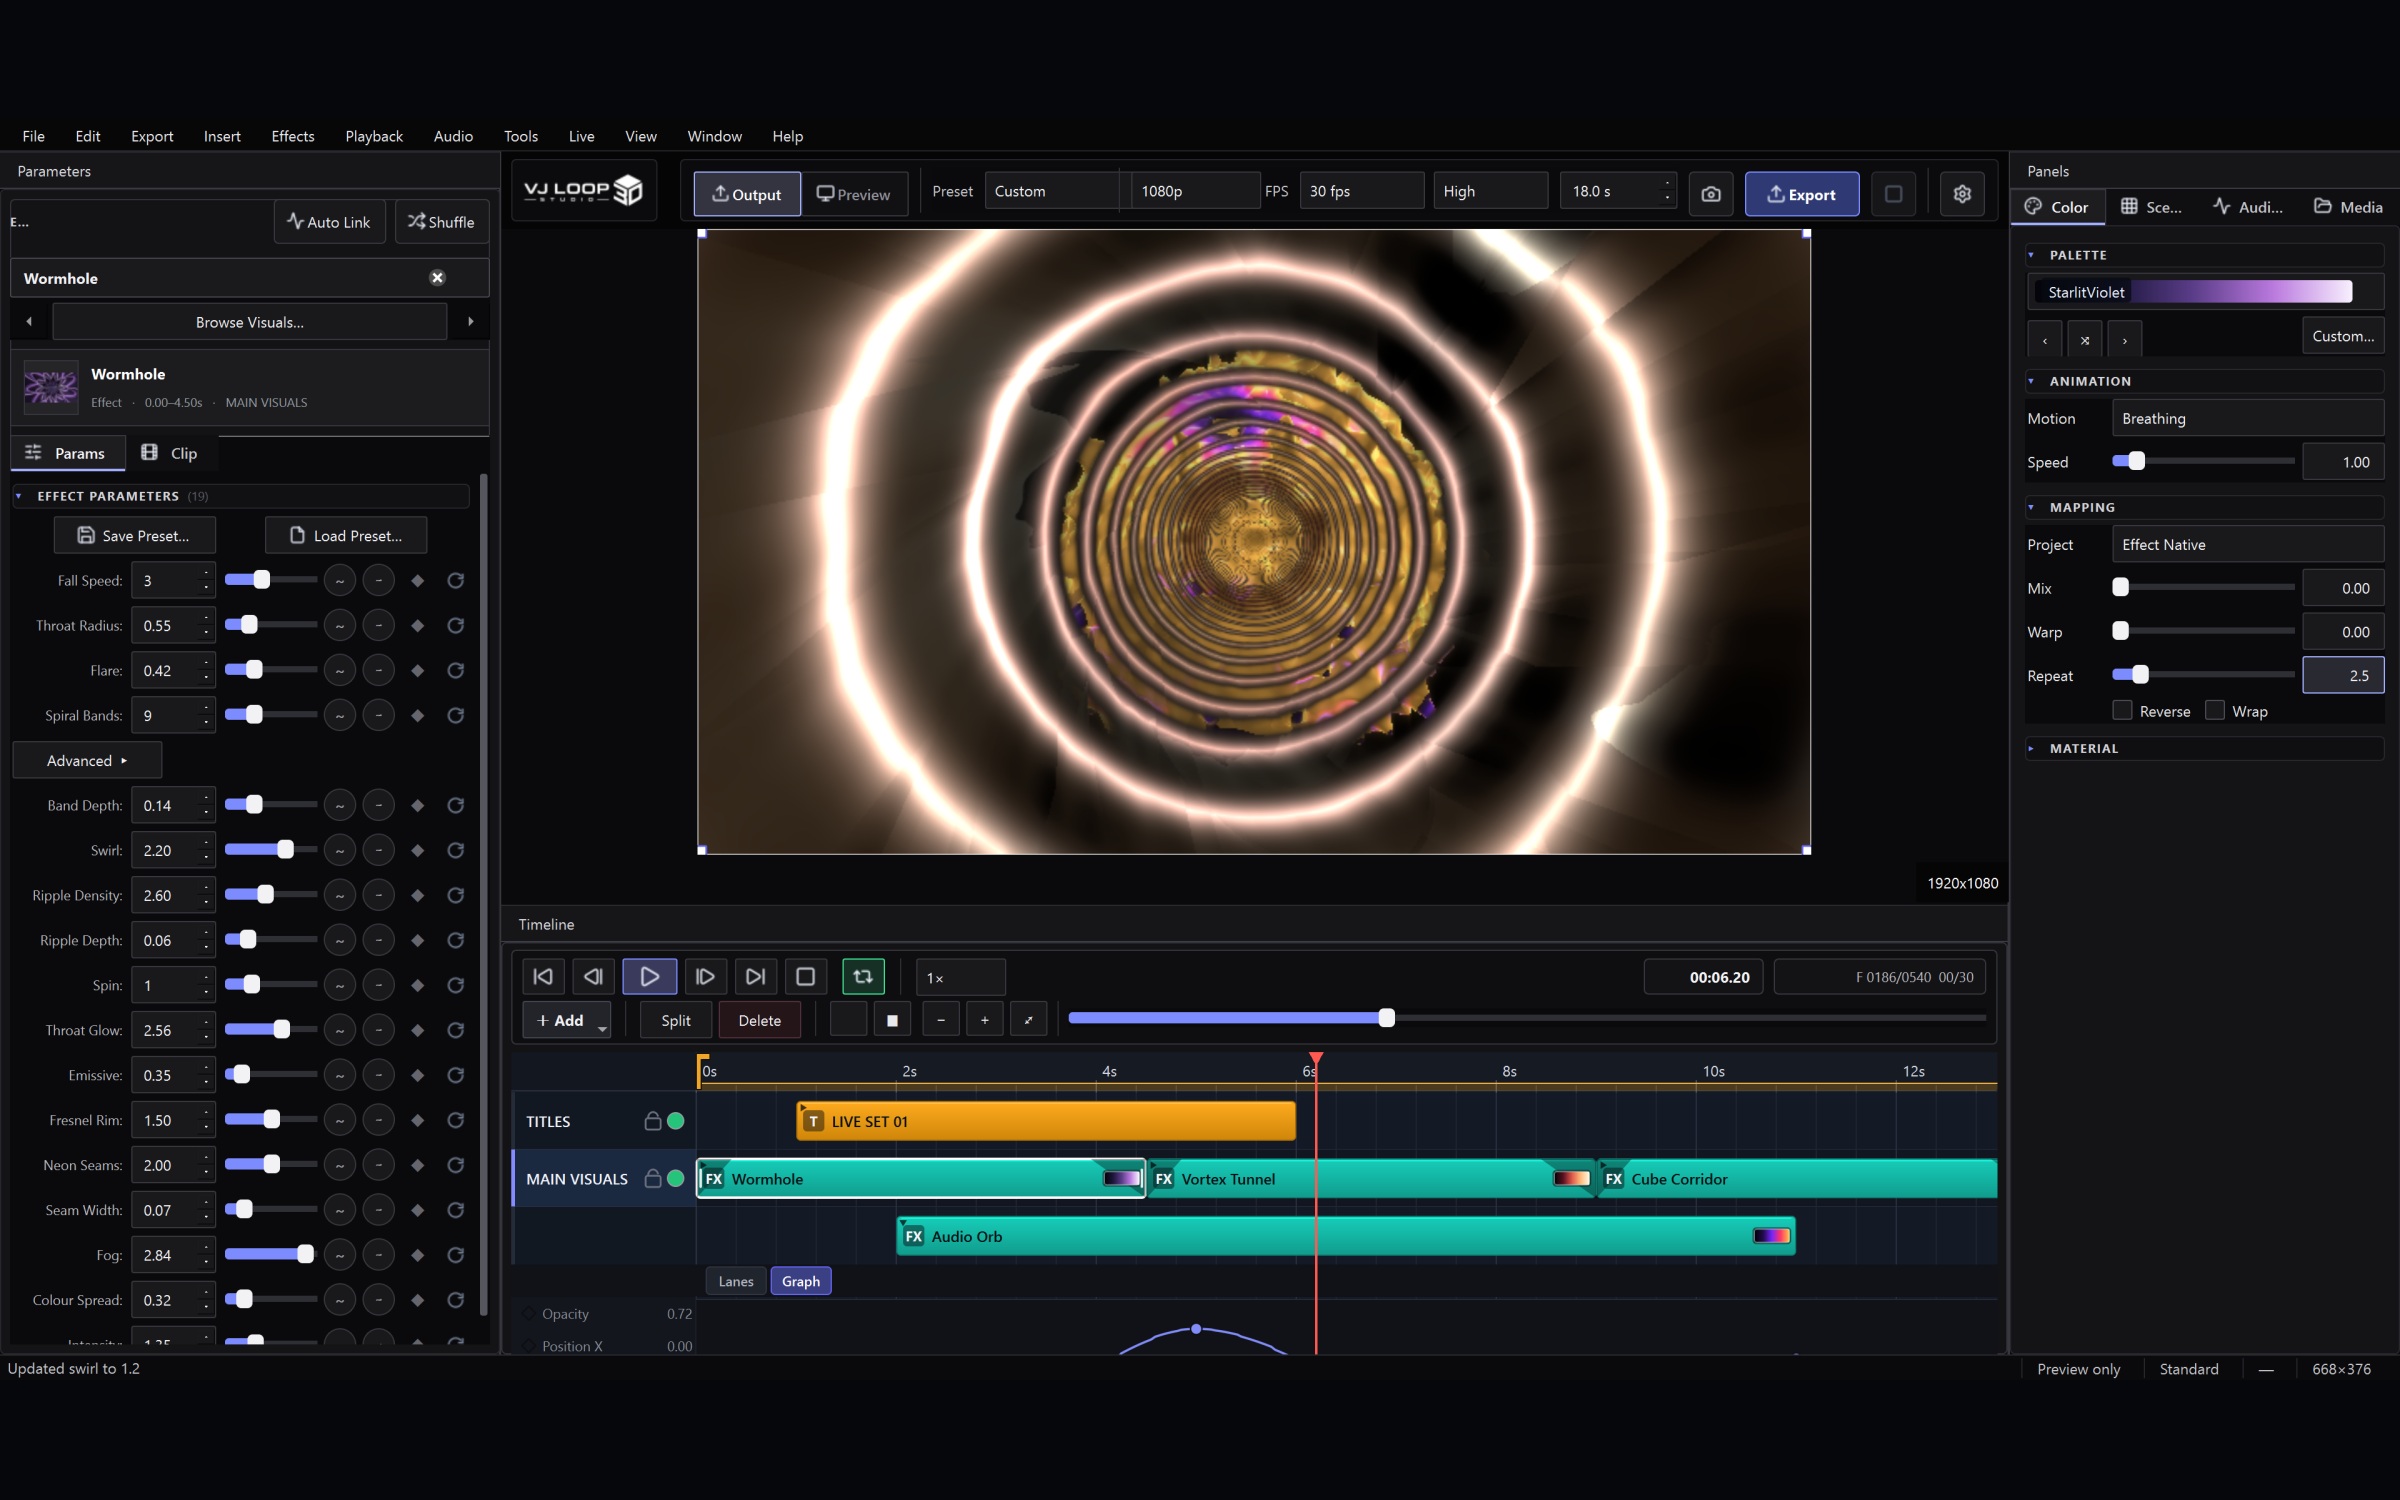
Layer a second clip underneath - a 3D object or a slower ambient effect - and blend them with the built-in blend modes. The timeline composition screen is where the loop stops being one effect and becomes a visual scene: foreground reacts to the beat, background breathes slowly underneath.
Step 5: Send it out via Spout or NDI
Done? Two exits:
- Spout (Windows) shares the frames with Resolume, OBS and other apps at full resolution with no screen tearing
- NDI pushes the visuals over the network to projectors, LED processors and stream encoders - the same pixel-perfect output on every destination
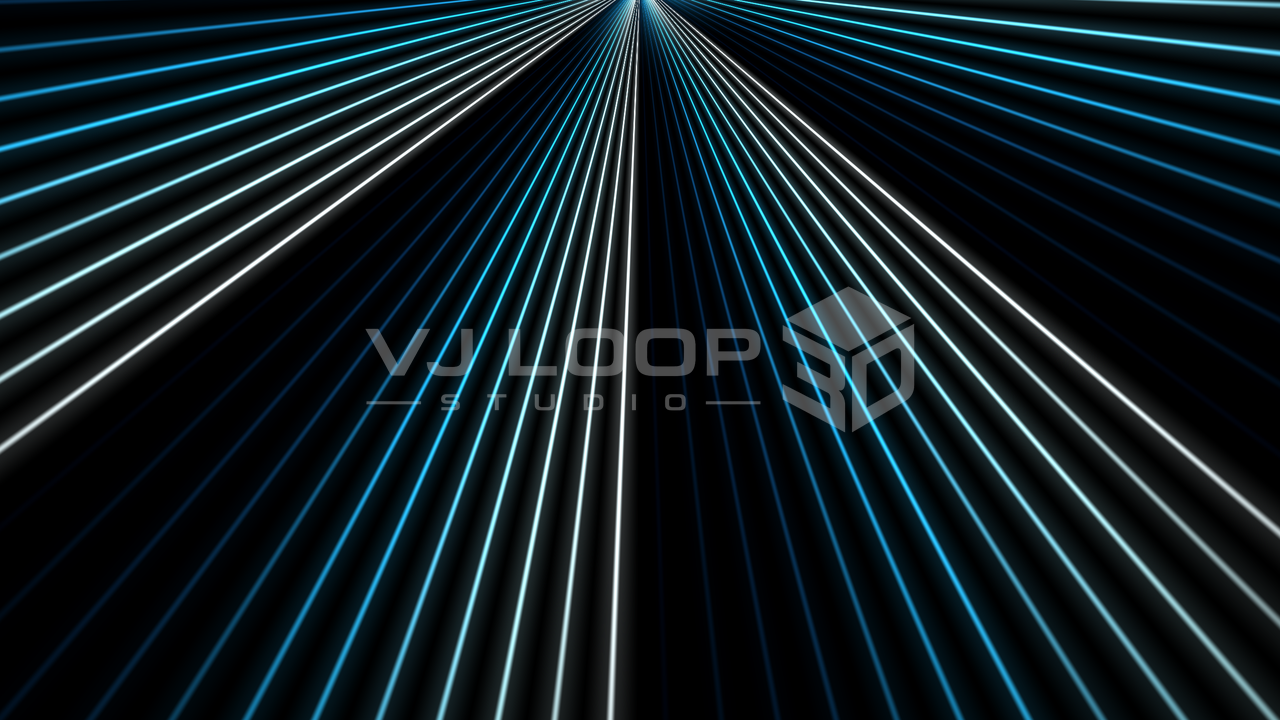
Here’s what a finished loop can look like - a laser fan render straight from the generators:
Five minutes, every night
Five minutes for the first loop, less for every one after - because it’s a generator, not footage. Change the palette for the next set, swap the generator for the section you’re mixing into, and the loop library effectively never runs out.
VJ Loop Studio 3D is a one-time purchase with a lifetime license - all major updates included, one PC, €99 + VAT.
Want to go deeper on the hardware side? See how audio-reactive LED setups work with WLED, or why pixel LEDs beat DMX fixtures for walls and panels.