Create Your First LED Matrix Animation with Pixel LED Animator 3
Your first LED matrix animation always feels bigger than it is. You don’t need to hand-place 1,024 pixels or learn a sequencer’s internals - you need a tool that generates the animation for you, at your matrix’s exact resolution. That’s what Pixel LED Animator 3 does, and this tutorial gets you from nothing to a finished animation in about half an hour.
What you need before you start
- Your matrix specs: width, height and color order (RGB, GRB, RGBW…) - your controller’s documentation has these
- The desired frame rate: 20-30 FPS is plenty for most matrices; LED strips like 30-60
- Pixel LED Animator 3: download the trial - the workflow below works identically in the trial
That’s it. No matrix connected yet? The per-pixel preview shows exactly what the physical matrix will display, so you can design the whole animation before anything is wired up.
Step 1: Set up your matrix size
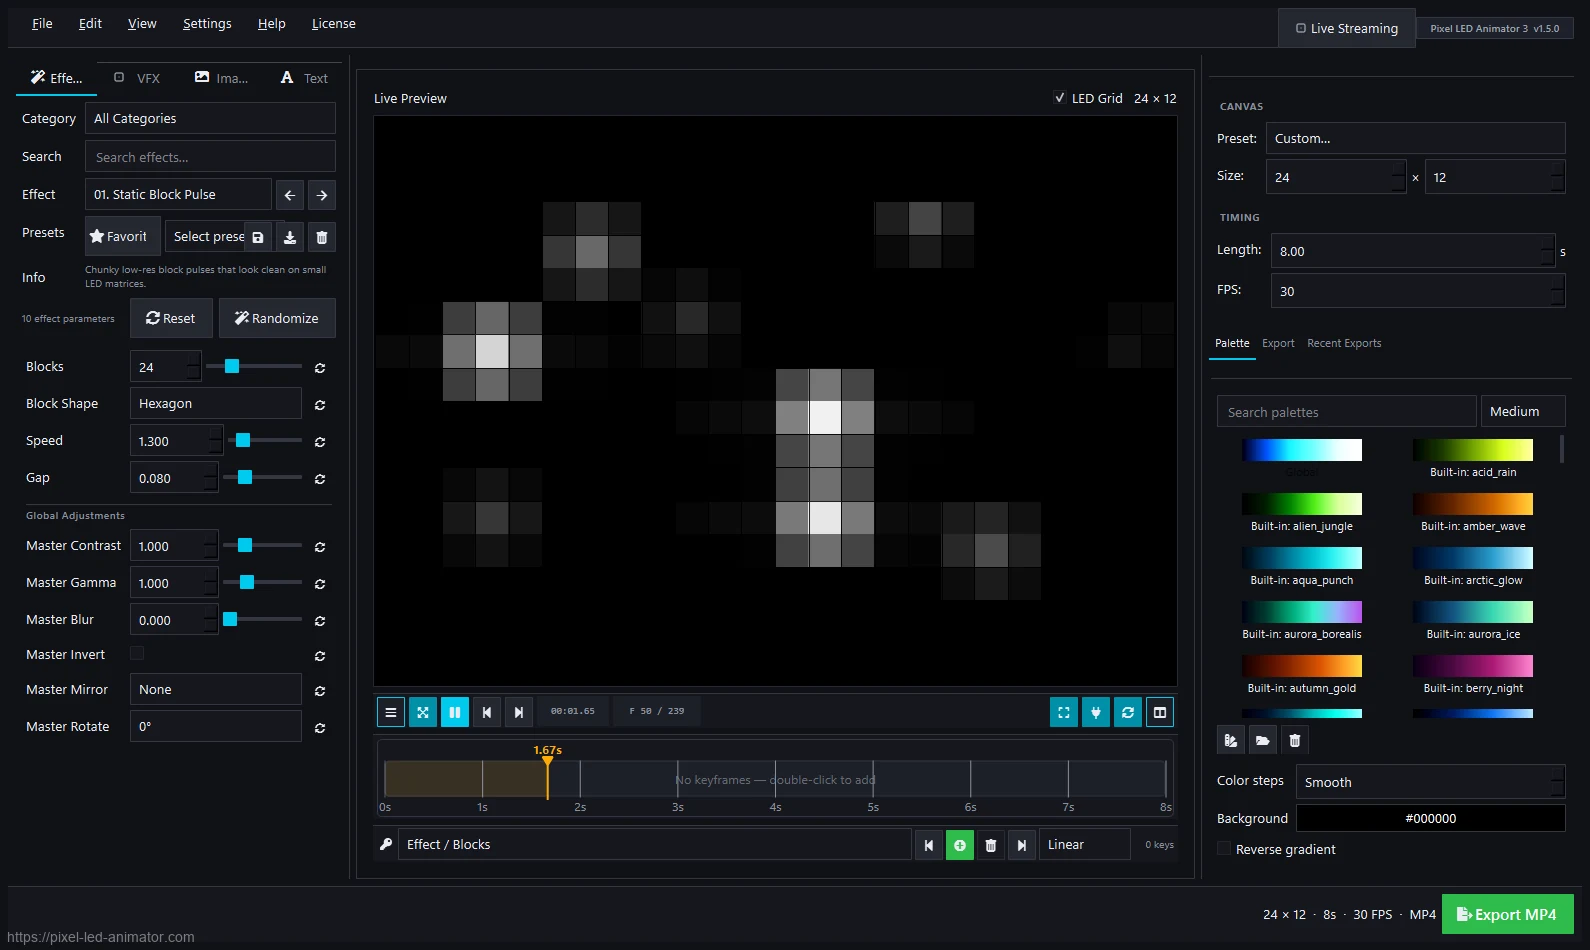
Open Pixel LED Animator 3 and set the canvas to your physical matrix: width, height and color order. This is the single most important step - everything you generate is rendered per-pixel for these exact dimensions. Design at the size you’ll actually run, and you never see the blurry upscaling that plagues animations made for different panels.
Step 2: Generate an effect, then play with parameters
Pick an effect generator from the library of 100+ - start with something proven like Matrix Rain or Neon Kaleidoscope. Every generator has live parameters: speed, density, direction, symmetry and more. Drag them while the preview runs, and you instantly see how each change looks on your matrix.
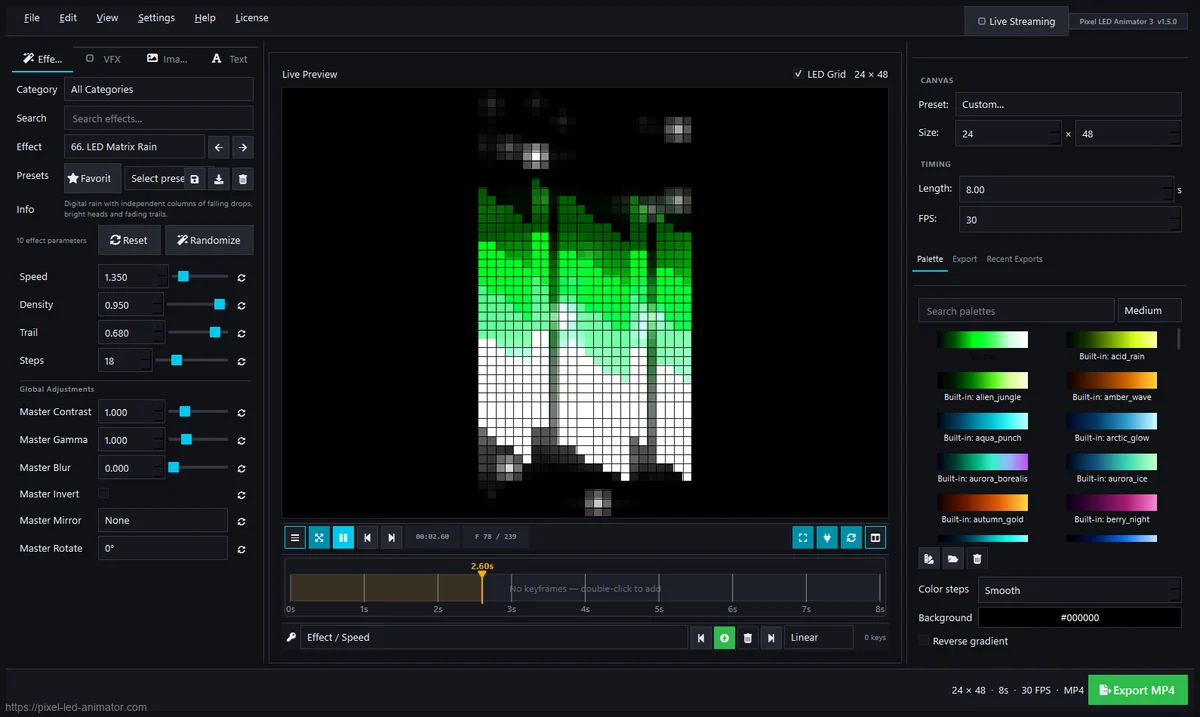
Tip: start from a generator close to the look you want, then change one parameter at a time. Generators are combinatorial - one generator plus small tweaks gives you hundreds of distinct animations.
Step 3: Build playback with keyframes
A single effect loop gets boring fast. The keyframe animation system lets you animate movement, intensity and color over time:
- Place keyframes per clip and the editor interpolates smooth, per-pixel transitions
- Layer the VFX system on top - time symmetry, color inversion, grid effects, zoom and blending modes
- Combine several effects into a sequence that plays like a designed show, not a screensaver
Step 4: Give it a color story with the palette editor
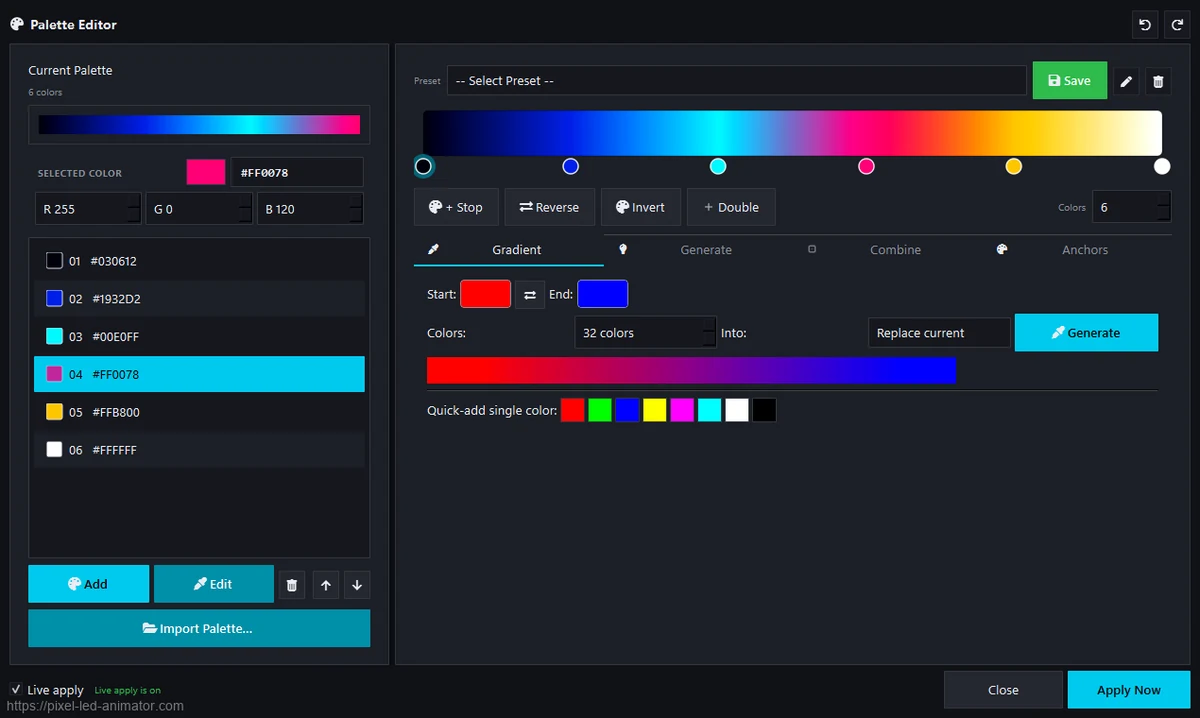
The palette is half the look. The built-in palette editor ships presets and supports custom gradients - linear and radial - so “rainbow” doesn’t have to mean every frame has all the colors. Try a two-color gradient with slow keyframed shifts: it reads far more professional on a large matrix than a full rainbow sweep.
Step 5: Export for your controller or sequencer
One click per target:
- SWF for LedEdit-compatible controllers (plays from SD card)
- XDAT directly for controllers that read XDAT natively
- AVI, MP4, MOV for Jinx!’s video layer or video overlays in xLights
- GIF for quick scene assets, websites and previews
Export at your matrix resolution, load the file onto the controller (or into your sequencer), and your matrix plays your animation all night.
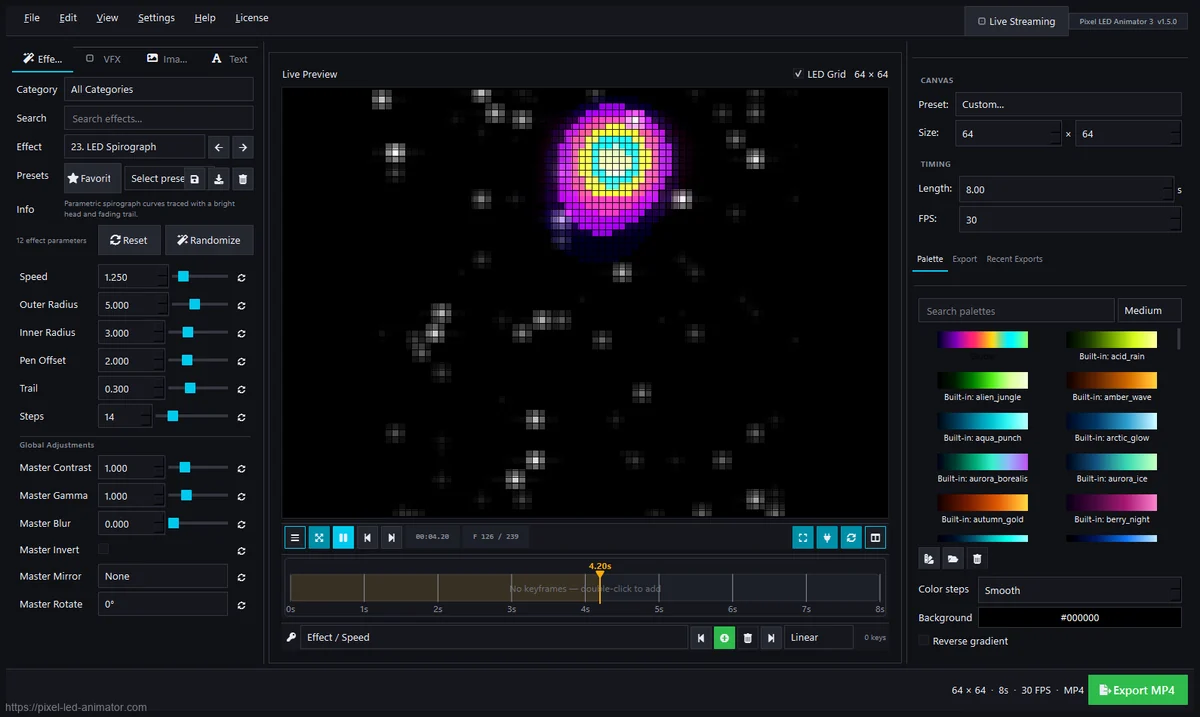
Your first animation, 30 minutes later
That’s the whole workflow: set the size, generate, tune palettes, keyframe the movement, export. The first animation takes about half an hour; the twentieth takes five minutes, because the generators do the heavy lifting and your library of parameter combinations grows with every session.
Pixel LED Animator 3 is a one-time purchase with a lifetime license - all 3.x updates included, one PC, €99 + VAT.
New to matrices? Start with what an LED matrix is and learn why HUB75 and WS2812B are the two technologies you’ll meet first.