How to Build a WiFi-Controlled LED Matrix for Under $100
How to Build a WiFi-Controlled LED Matrix for Under $100
Want a custom LED matrix on your wall but don’t want to spend hundreds? This guide walks you through building a 16×16 (256 pixel) WiFi-controlled matrix for under $100.

What You’ll Need
| Item | Est. Cost | Notes |
|---|---|---|
| WS2812B 16×16 panel | $35-45 | Pre-assembled 16×16 flexible panel |
| ESP32 Dev Board | $8-12 | Any ESP32 with USB |
| 5V 10A Power Supply | $15-20 | Mean Well or generic |
| Barrel jack + wires | $5-8 | 5.5×2.1mm, 18 AWG |
| Jumper wires (female-female) | $3-5 | 4-pin connector |
| Frame (optional) | $10-20 | 3D printed or wood shadow box |
| Total | $76-110 |
Step 1: Wire the Matrix
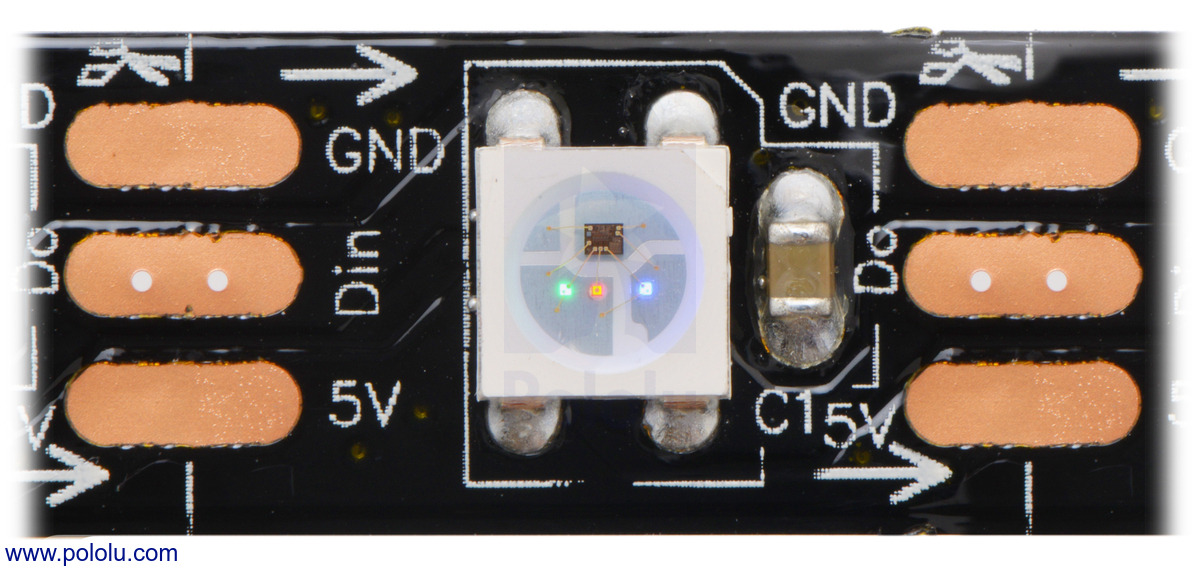
A 16×16 WS2812B panel has 4 pins: VCC (5V), GND, DIN (data in), and DOUT (data out).
Connect:
- VCC → 5V power supply positive
- GND → Power supply negative AND ESP32 GND (common ground!)
- DIN → ESP32 GPIO2 (or any free pin)
Always connect ground between the ESP32 and the LED panel before connecting data. Without a common ground, the LEDs will behave erratically.
Step 2: Flash WLED
- Go to install.wled.com in Chrome or Edge
- Connect your ESP32 via USB
- Click “Install” and select the correct COM port
- Wait for the flash to complete
- Connect to the
WLED-APWiFi network and configure your home WiFi
Step 3: Configure the Matrix in WLED
- Open the WLED web UI (find the IP on your router)
- Go to Config → LED Preferences
- Set:
- Total LEDs: 256
- Type: Matrix
- Panel: 16 columns × 16 rows
- Start position: Bottom-Left (or your preference)
- Direction: Row-major, serpentine
The “serpentine” setting alternates the direction of each row, matching the zigzag wiring pattern of most pre-assembled panels. If your animation looks like alternating rows are flipped, toggle this setting.
Step 4: Upload Animations (WLED v16)
WLED 16 supports GIF playback on matrices:
- In the WLED UI, go to 2D → Pixelforge
- Upload a GIF or use the built-in effects
- Adjust brightness (start low — 30% is plenty for indoor)
Step 5: Frame and Mount
A simple shadow box frame makes the matrix look professional:
- 3D printed: Search Thingiverse for “WS2812B matrix frame”
- Wood: Build a simple 8"×8" shadow box from craft plywood
- Diffusion: Add a sheet of white acrylic or tracing paper over the LEDs for a soft glow
Next Steps
- Add sound reactivity with a microphone
- Control from Home Assistant
- Scale up to a 64×64 matrix with power injection